07.11.2025
Pull off internal parts correctly using internal puller
Inhalt
In our general article about pullers, we looked at what pullers are generally used for and what types are available. In this article, we explain what an internal puller is and what its special features are. Where is it used? How is it designed? What needs to be considered? All this and more can be found on this page.
Internal pullers are always used when internal parts need to be checked and evenly pulled. This can be, for example, ball bearings, radial shaft seals or bushings. Thanks to their special design, internal pullers are able to grip these or similar parts internally so that they can be pulled out to the top.
01.
How is an internal puller designed?
The internal puller consists of the following components:
- Main body: The core of the internal puller consists of two semicircular jaws. They stand opposite each other and together form a cylinder. In modified shapes, there are also more than two jaws, which allow for a more even distribution of force. At the lower end of the extraction jaws are the gripping edges, which settle under the component during the extraction process. They are also referred to as gripping hooks or pull-out lugs. The jaws are held together at the upper end by a sleeve.
- Spindle: A screw or spindle runs inside the internal puller. It has a connection thread at the upper end for sliding hammers or counter stays and has a nut that sits above the sleeve on the spindle. By turning the nut, the spindle pushes the extraction jaws apart from the internal side and thus increases the circumference of the jaws.
02.
How is an internal puller used with a counter stay?
The use of an internal puller can be explained quickly and easily.
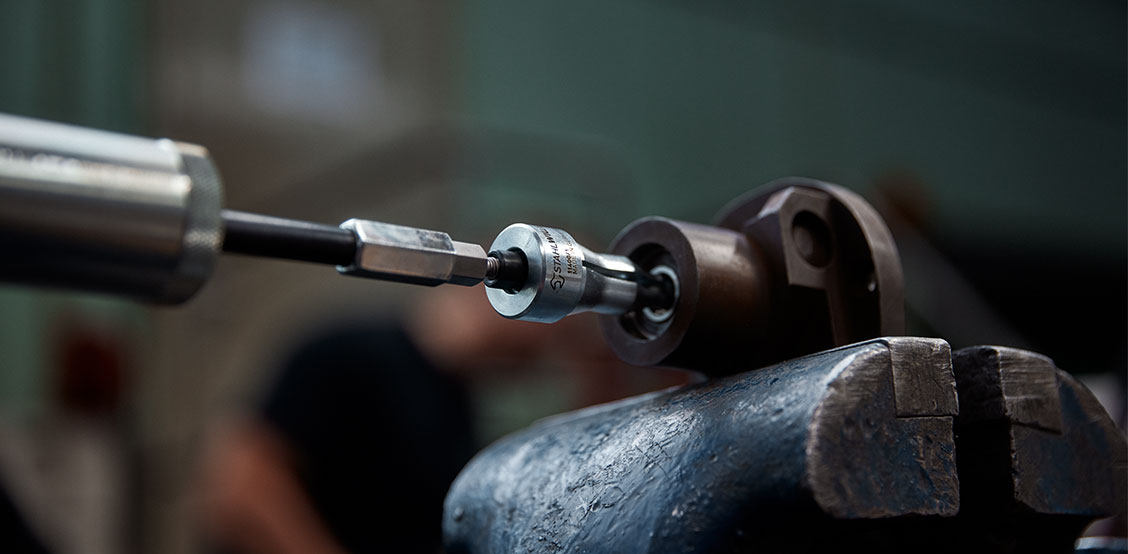
- Step 1: Insert the internal puller into the component to be removed.
- Step 2: The spindle of the internal puller is screwed in using a spanner. It expands out at the base and the gripping hooks locate underneath the part to be pulled out.
- Step 3: The counter stay is placed straight on the internal puller and its spindle is screwed in until it is connected to the internal puller spindle. The legs of the counter stay resting on the surface around the part to be extracted.
- Step 4: The nut on the spindle is turned downwards with a wrench, the resulting pressure on the counter stay pulls the internal puller upwards. A pressure force is exerted on the surface via the legs and a pulling force acts on the part to be extracted - it moves upwards with the internal puller.
03.
How is an internal puller used with a slide hammer?
If there is not enough space around the component to be extracted to insert the counter stay legs, use a slide hammer instead. It consists of a slide rail on which a handle (hammer) can be moved back and forth as a slide between two stops. Here, too, the application is extremely simple:
- Step 1: To extract the component, the slide hammer is securely screwed onto the internal puller; the slide is in the resting position at the lower stop.
- Step 2: The slide is moved in a smooth movement to the upper stop. When the stop is reached, its kinetic energy is abruptly transferred to the stop. This creates a shock effect, which is converted into a pulling force on the internal puller and acts on the part to be pulled out. The part comes loose.
- Step 3: If the component has not yet come loose during the first attempt or has not yet been completely lifted out of the recess, the process can be repeated several times.
04.
What should be observed when using internal pullers?
To achieve optimal results and enable safe, efficient work, the following instructions should be observed:
- Depending on the application, selecting the right type and size of internal puller is key to safe removal of the component.
- An internal puller suitable for the diameter of the part to be removed should always be used. Internal pullers from STAHLWILLE, for example, are available in ten sizes and cover spans from 8 to 100 mm.
- Correct positioning is essential - the internal puller must be straight and centred.
- Always apply an even force when pulling the component.
- Tip: For an even gentler process, the housing in which the part to be removed is located should, as far as possible and feasible, be heated before the internal puller is inserted. The resulting heat loosens the fit between the housing and the part to be removed, making removal easier.
Want to know more about pullers? Also read:
Would you like to get to know the puller range from STAHLWILLE? Click here to see our products:
Company
Service
2026© All Rights Reserved